
If you’re a makeup lover, or even just someone who uses makeup sparingly, you’ll know the importance of washing your makeup tools...right?
There’s no shame in admitting that washing your makeup tools can be a pain, which many of us put off.
With every buff, blend and bounce though, our tools build up an excess of makeup. Combine this with oils, dead skin, dirt and environmental pollutants, and they become a breeding ground for bacteria. At a time when we’re trying not to touch our faces and eyes, it’s more important than ever!
How often should you be cleaning your makeup tools?
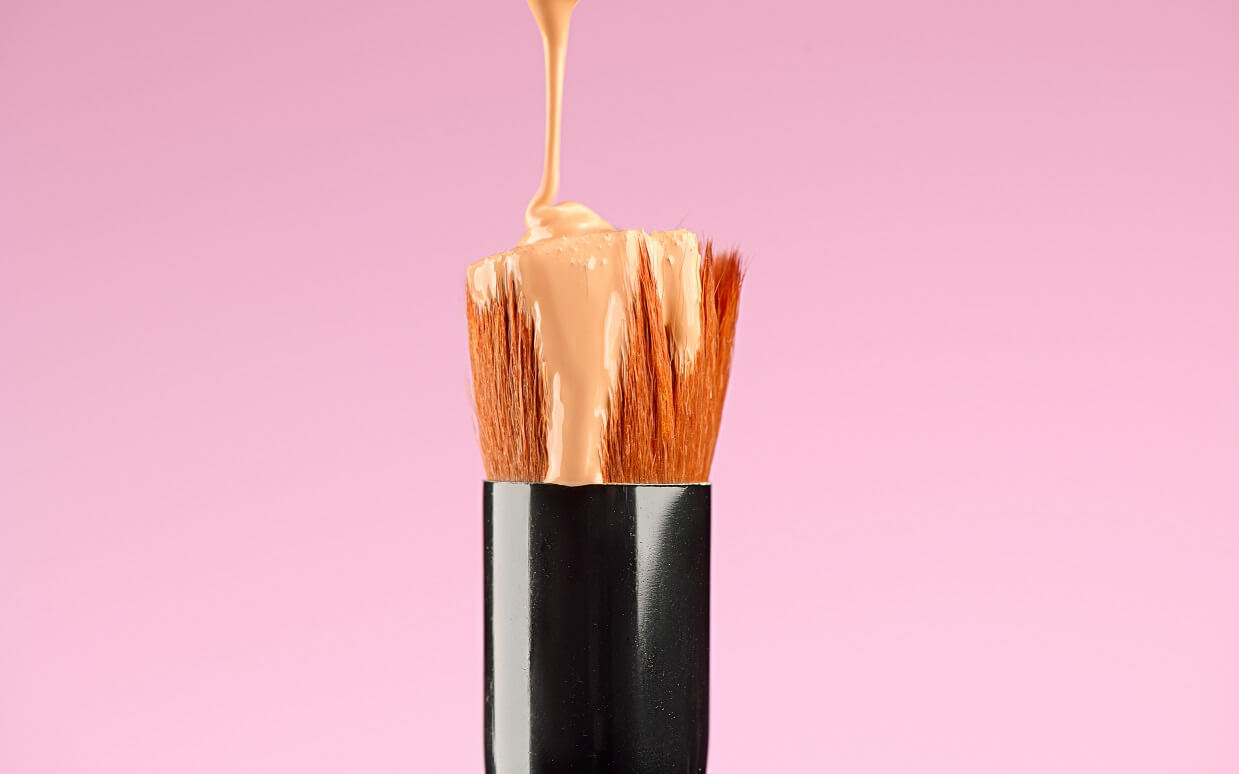
Let’s talk brushes! First off, there’s a difference between cleaning your brushes and washing your brushes - let us explain!
Cleaning your brushes: Ideally this should be done at least once a week, or after each makeup application if you really love your glam. Cleaning your brushes is as simple as giving them a quick spritz with a brush cleaner or antibacterial spray – followed by a wipe down with a wet wipe to remove any excess makeup left on the bristles.
Washing your brushes: Washing your brushes means more of a deep clean. You should wash your brushes at least once a month - more often if possible, especially at the moment, or if you have sensitive skin.
Next up - everyone’s favourite tool right now (including ours) the Beauty Sponge!
Similarly to brushes, beauty sponges should be washed regularly - ideally after each use or at least once a week. Remember everything we said earlier about what builds up in your makeup tools? Well, combine that with the dampness of a Beauty Sponge and you’re left with a place that bacteria would love to call home!
Top tip: Your Beauty Sponge needs to be replaced every 3 months!
How to Wash Your Brushes:
-
Set up your washing station! (If you’re a makeup lover with lots of tools, you may want to put on some entertainment to help pass the time!)
We recommend setting up by a sink - dirty brushes one side and a clean hand towel ready to receive your clean brushes on the other side. - Get out your cleaning solution. It’s important to use a brush shampoo that will help release any embedded makeup, dirt and oil without excessive scrubbing. Brushes can be expensive so we want to avoid any unnecessary damage that may cause the brush to lose its shape or cause the shedding of bristles..
- Fill up a glass or bowl with warm water (or use running water if you feel there’s a lot of product trapped in your brush). Squeeze a dollop of shampoo into the water (or directly onto the brush head if using running water).
- Swirl and gently massage your brush to help remove any built up makeup. Try not to aggressively rub your brushes against the bowl or cup as this can cause bristles to shed.
- Rinse with clean water. Carefully squeeze out the excess water. We recommend using two fingers - place one either side of the brush then slide up the brush head from the base of the bristles to the top. Top tip: Only perform this motion in the one direction to avoid roughing up the brush head.
- Lay your brushes on the hand towel to dry. Top tip: If possible, hang your brushes upside down (so the bristles are facing towards the ground) to dry. This stops the build up of water on the base of your brush which can attract mould over time.
- Repeat until all your brushes are clean. Dry your brushes in natural light.
How to wash your Beauty Sponge: 
- Get out your cleaning solution. If you don’t own a beauty sponge cleaning product then we recommend using antibacterial hand soap.
- Place your sponge under running water. Allow the sponge to swell, then gently massage your cleaning solution into the sponge, which should start to release any built up makeup your sponge is holding. (Be warned, this can get a little bit messy so be careful!)
- Rinse and repeat! Continue to allow the sponge to swell, and massage out the excess makeup. You’ll want to repeat this until the water runs clear from your sponge. Top tip: Don’t be afraid to continue using the cleaning solution each time you massage your sponge.
- Leave to air dry. Once the water is running clear from your sponge, massage out any left over water and set aside on your hand towel or paper towel to dry.
And you're done! Remember more frequent cleaning means less bacteria and makes it easier and less time consuming next time!
